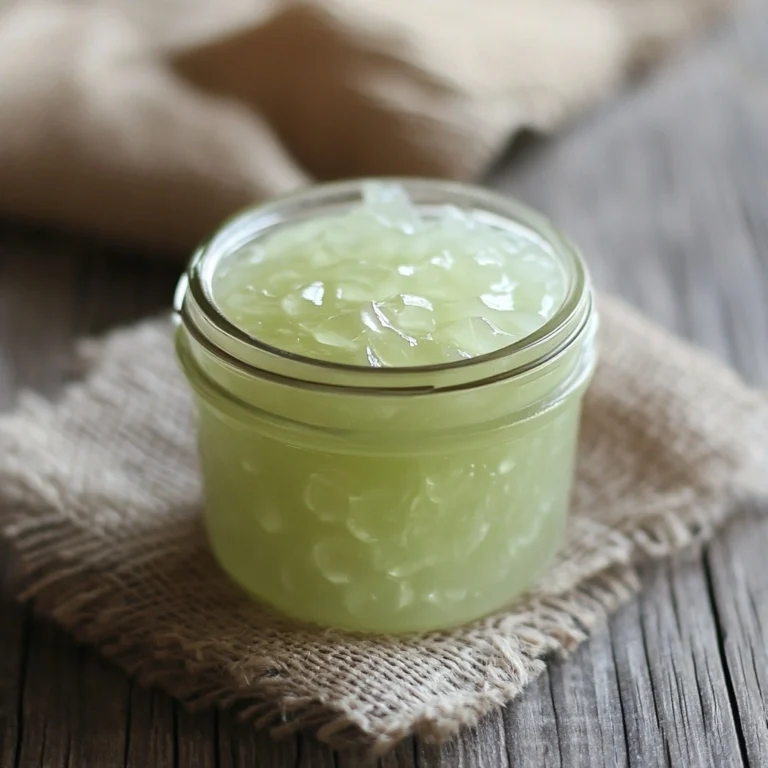
When it comes to skincare, nature often holds the most powerful solutions. A homemade healing gel for skin can be a gentle yet effective way to tackle common issues like wrinkles, stretch marks, blemishes, and even minor burns. By using a blend of soothing aloe vera, nourishing oils, and optional essential oils, you can create a multi-purpose treatment that is both affordable and chemical-free.

Whether you are aiming to reduce the appearance of fine lines, soften stubborn marks, or simply keep your skin hydrated and healthy, this easy-to-make gel can be your go-to remedy. Plus, it’s customizable so you can tweak the recipe to suit your skin’s needs and preferences.
Benefits of Homemade Healing Gel for Skin
Natural Ingredients for Skin Wellness
The main charm of this gel lies in its simplicity and the purity of its ingredients. Aloe vera gel forms the base, offering natural cooling, hydration, and healing properties. Vitamin E oil helps repair damaged skin cells and acts as an antioxidant, while almond or coconut oil locks in moisture. Adding essential oils like lavender or tea tree can enhance the gel with calming, antibacterial, or anti-inflammatory effects.
Unlike store-bought creams that often contain preservatives, synthetic fragrances, and alcohol, this gel delivers pure nourishment without unnecessary additives.
Why This Gel is Versatile
One of the best things about this recipe is its versatility. You can apply it to wrinkles for a smoother look, massage it into stretch marks to improve texture, dab it onto blemishes to reduce redness, or spread it over minor burns to speed healing. It works for nearly all skin types, from dry to oily, and is gentle enough for daily use.
How to Make Homemade Healing Gel for Skin

Ingredients
- ½ cup fresh aloe vera gel (or pure store-bought aloe without additives)
- 1 teaspoon vitamin E oil (from capsules or bottled form)
- 1 tablespoon almond oil or coconut oil (cold-pressed)
- Optional: 3–5 drops lavender essential oil (for calming and healing)
- Optional: 3–5 drops tea tree essential oil (for antibacterial benefits)
These ingredients are chosen not just for their individual qualities, but for how they complement each other. Aloe vera provides hydration and promotes regeneration, vitamin E repairs, and the carrier oils lock in all the goodness.

Directions
- Prepare your workspace
Make sure you have a clean bowl, a small whisk or spoon, and a sterilized jar with a tight lid for storage. Clean utensils prevent bacteria from contaminating your gel. - Combine the base ingredients
Place the aloe vera gel in the bowl. Add the vitamin E oil and your chosen carrier oil (almond or coconut). - Blend until smooth
Use a whisk or spoon to mix everything together until the gel becomes silky and evenly combined. This helps the oils disperse throughout the aloe for a consistent texture. - Add essential oils (optional)
If you want added fragrance and therapeutic benefits, add lavender or tea tree oil at this stage. Stir well to ensure they are fully incorporated. - Transfer to storage jar
Pour the finished gel into your sterilized jar. Seal it with a lid to keep it fresh. - Store properly
Keep your healing gel in a cool, dry place or refrigerate for an extra-refreshing sensation when applied. - Apply daily
Use a clean fingertip or spatula to apply a small amount to clean skin. Massage gently until absorbed. Best used at night to allow your skin to heal while you sleep.
Tips for Using and Customizing Your Healing Gel

How to Get the Best Results
Consistency is key when using natural skincare remedies. Apply the gel once daily, preferably at night, for at least four weeks to see visible improvements. For burns and blemishes, spot-apply as needed throughout the day. Always apply to clean skin so that the ingredients can penetrate more effectively.
Variations and Storage Advice
You can experiment with the recipe to suit your preferences:
- For extra hydration: Add a teaspoon of rosehip oil for deep skin nourishment.
- For soothing irritation: Include chamomile essential oil instead of lavender.
- For acne-prone skin: Use jojoba oil instead of coconut oil for a lighter, non-comedogenic option.
Homemade products generally last for 2–4 weeks, depending on storage conditions. If refrigerated, your gel may last up to two months. If you notice a change in smell or color, discard it and make a fresh batch.
Print
Homemade Healing Gel for Skin: A Natural Remedy for Wrinkles, Stretch Marks, Blemishes, and Minor Burns
A soothing, multi-purpose healing gel made with aloe vera, vitamin E, and nourishing oils. Helps improve wrinkles, stretch marks, blemishes, and minor burns naturally.
- Total Time: 10 minutes
- Yield: 1 jar (approx. 150 ml)
Ingredients
1/2 cup fresh aloe vera gel
1 teaspoon vitamin E oil
1 tablespoon almond oil or coconut oil
Optional: 3–5 drops lavender essential oil
Optional: 3–5 drops tea tree essential oil
Instructions
Sterilize a jar and utensils to prevent contamination.
Place aloe vera gel in a clean bowl.
Add vitamin E oil and almond or coconut oil.
Whisk until smooth and fully blended.
Add essential oils if desired and stir well.
Transfer to jar, seal, and store in a cool place or refrigerator.
Apply to clean skin daily, preferably at night.
Notes
Store in the refrigerator for a cooling effect. Discontinue use if irritation occurs. For external use only.
- Prep Time: 10 minutes
- Cook Time: 0 minutes
- Category: Natural Skincare
- Method: Handmade
- Cuisine: DIY Beauty
- Diet: Vegan
Nutrition
- Serving Size: Small dollop
- Calories: 8
- Sugar: 0g
- Sodium: 0mg
- Fat: 1g
- Saturated Fat: 0.4g
- Unsaturated Fat: 0.6g
- Trans Fat: 0g
- Carbohydrates: 0g
- Fiber: 0g
- Protein: 0g
- Cholesterol: 0mg
